
Open the land list
In the menu on the left, under Land Management, click Lands. Here you see all the land areas of your farm.
Click New Land in the top right corner.
Name and land type
Give the land area a name under Name, for example Am Hohlweg.
Choose the Land Type; in the video it is Crop Field. Name and land type are the two required fields.
You can enter Status, Soil type and Possession now or add them later.
Then click Next.
Draw the boundary
Above the map, search for a place or address near your land and pick the matching result. The map jumps to that spot.
Zoom in with the plus until you can clearly see the field boundaries.
Use the layers icon to switch to Satellite View.
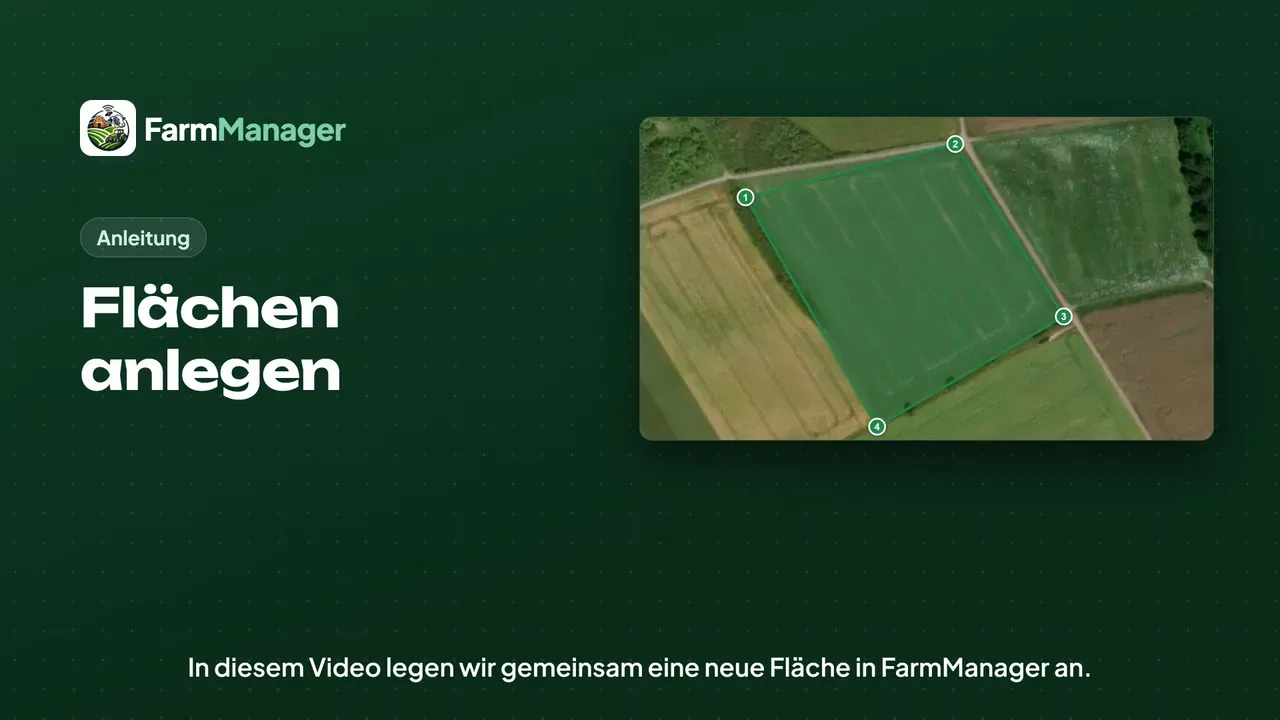
Under the map, click Draw Land Area.
Place a corner with each click, going once around the whole field.
If you misclicked, take back the last corner with Delete last point.
When all corners are set, click Finish drawing. FarmManager then fills in the size itself, which is 3.6 hectares in the video.
Save
Click Create in the bottom right corner. The new land area now appears in your list.
Tips
If you already have your field boundaries from your aid application, you do not need to draw them by hand. Under Actions you find Import geodata, where you upload the file.
If you want to look something up, click Help at the top.